The innovation of dye-sensitized solar cells has expanded the device’s potential up to the point where it might completely oust costly silicon solar cells.
In the following post I have explained how you can easily construct this versatile dye-sensitized solar cell using very ordinary materials.
This experiment relies on the concept of utilizing the organic compound in plants, particularly organic dyes to act as electron donors in solar cells.
Instead of a semiconductor material silicon in the solar cell, we have used titanium oxide (TiO2), which also is a semiconductor. The properties of TiO2 allow it to absorb sunlight even better if it is ‘sensitized’ with an organic dye.
The efficiency of dye-sensitized solar cells is 7% higher than a third of the efficiency of conventional solar cells. Although this isn’t a wide advantage, dye-sensitized solar cells are cheaper due to the simpler manufacturing process compared to silicon cells which are also complicated.
The Solar Cell of the Future?
Although it might take a few years for the dye-sensitized solar cells to be commercially successful, it will stay on the right path provided certain issues are resolved.
Firstly, long-term stability issues of the cells have to be tackled as oxygen eventually damages it over time.
A suitable dye can be taken out of raspberries or fruit tea. Add in a few other components like low-emissivity (low-E) glass and titanium oxide, and you have yourself all the ingredients to construct the kit. In this experiment, we are using roseship tea for the red dye.
Materials Required
- Sheet glass (pieces) with a current-conducting layer on one side. These are available in kits and can be found online. Alternatively, you can go with low-E glass and these can be obtained from glaziers, as the material is incorporated in the manufacturing of thermal insulation windows. We recommend getting two pieces with a dimension of 5 x 2 cm.
- TiO2 and polyethylene glycol. The latter is a standard ingredient in various ointments but in this experiment, it is used to suspend the titanium oxide.
- These items can be purchased from a local chemist. You have to also make sure the polyethylene glycol has a molecular weight of 300 in addition to being fluid.
- If you purchase your kit off the internet, it usually comes with a white suspension, which makes things easier. You can know for sure that the particle size of the TiO2 is precise (approx. 20nm) and finely isolated, which is extremely challenging to obtain if you are doing it yourself.
- You can include white toothpaste, Tipp-Ex, white paint or similar substances comprising titanium oxide as a whitener.
- In this experiment, we have used a solution of iodine in 65% ethanol as an electrolyte. Although this performs just well, it only produces one-third as much current as of the typical electrolyte.
- Fruit tea used in our test is the rosehip, but hibiscus works too.
- A gas camping stove and lighter.
- One laboratory stand with clamp, ring and the screen. The function of the screen is to support the glass during baking.
- A pipette but if you don’t have any, a teaspoon can be used a substitute by allowing the titanium oxide suspension to dribble on the glass.
- Tweezers, kettle, teapot, hairdryer and Sellotape.
- A sheet of aluminium foil.
- A petri dish or a regular flat bowl or soup plate.
- Graphite pencil and a piece of glass or plastic card for spreading the titanium oxide.
- One multimeter set.
How Dye-sensitized Solar Cells Work
The construct of a dye-sensitized solar cell is made up of two flat sheets of glass with an electrically conductive layer on one side. The conductive coating is commonly made from a metal oxide.
A reedy coating (approx. 10 μm) of TiO2 crystals measuring about 20 nm that has been baked together to create a porous layer, is identified between the two pieces of glass.
Then, the dye is placed on this porous coating. In the industry, the dye chosen for the sensitized solar cells comprises noble metal ruthenium.
However, naturally available red dyes can be utilized for testing purposed. Because of the incredibly minuscule sizes of the titanium oxide crystals and the gaps between them, the porous structure contains a huge effective surface area and the dye coating is remarkably thin.
This is crucial for correct operation since the dye is a lousy electrical conductor.
The moment a light ray hits a dye molecule, it shoots up an electron into the titanium dioxide.
The electrons gather in the conductive coating (working electrode) positioned between the titanium oxide and the glass sheet.
One more conductive layer is necessary on the flip side to function as a counter electrode, and the gap between the electrodes is furnished with an electrolyte solution.
This is where the simple iodine salt solution is applied rather than the industrial acetonitrile electrolyte which is very volatile and toxic. The tri-iodide molecules in the electrolyte solution are “forced” to reach with the counter electrode to form iodide molecules.
This happens only if a catalyst is introduced to the electrode and that is where the graphite from the pencil comes in. For the industrial level, the catalyst used is highly costly platinum.
This experiment demands electrons. The excess of electrons on the other electrode produces an electrical potential that can be tapped into.
A current flow can occur if the electrodes are connected externally using a load.
The iodide molecules within the solution renounce electrons to the dye and converts to tri-iodide molecules during the process which in return completes the electrical circuit.
The substrate of the solar cell is a normal window glass that is around 2mm thick with a clear, conductive metal oxide layer (like Zinc Oxide). Regrettably, this coating cannot be made in your own.
Step by Step Procedures
The step by step procedures of making of the dye-sensitized solar cell are illustrated below through explanations and picture.
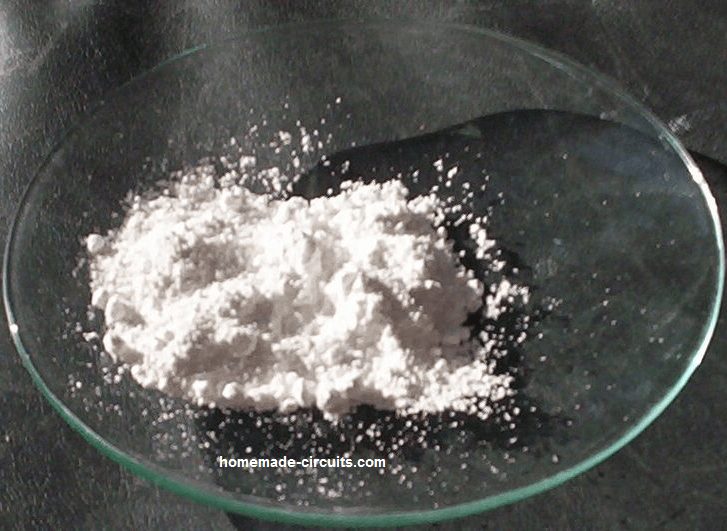
The particle size of the titanium powder is around 15-25 nm, as shown below.

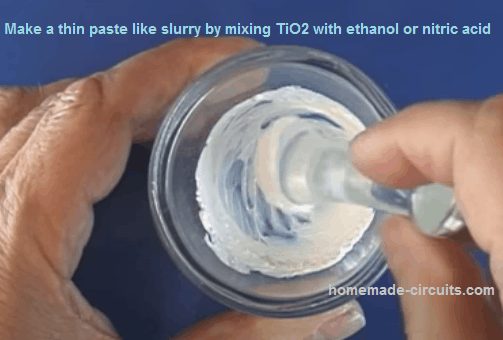
- Mix it with polyethylene glycol, which is an oily emulsifying agent, and stir the concoction carefully until a viscous cream is achieved.
2) For the electrolyte, you can opt for iodine in ethanol, but the results may be below average compared to commercially available redox electrolyte.
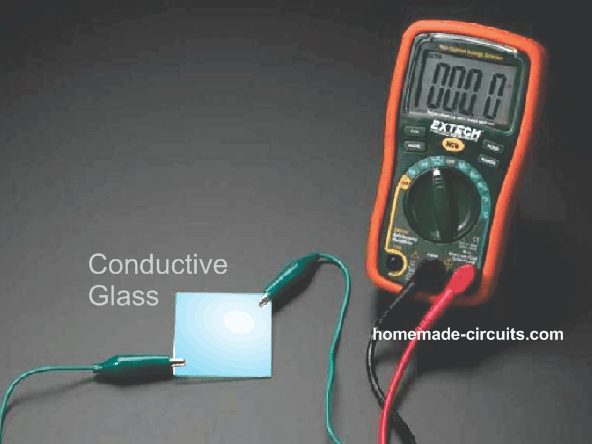
3) Grab a multimeter unit and set the resistance range to find out which side of the glass piece is conductive.
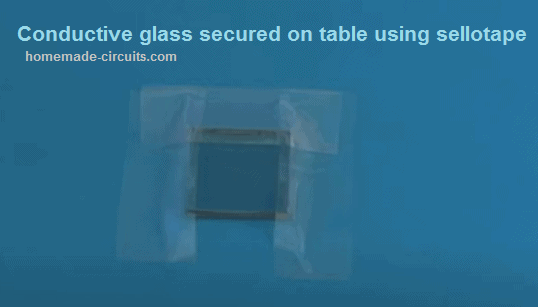
4) Next, secure the glass on the table using Sellotape while placing the conductive side to face up.
5) If you have a pipette, pull out some of the TiO2 cream or paste, and place several drops on the conductive surface of the glass.
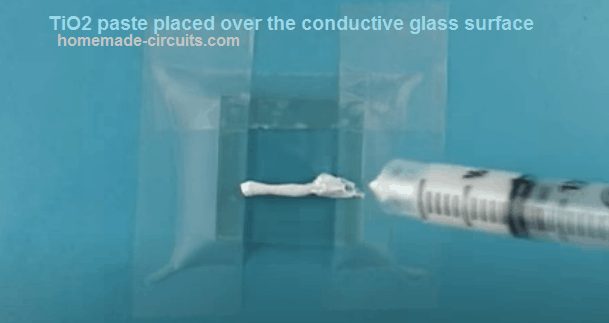
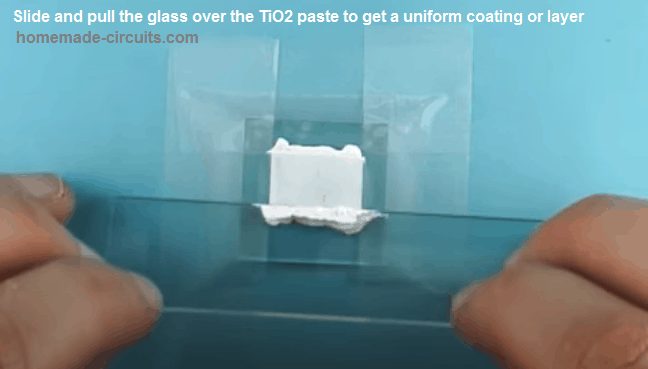
6) Then, using a plastic card or a different glass piece, strike the drops thoroughly. Try getting a uniform coat by gently sliding the glass piece over the Tio2 paste.
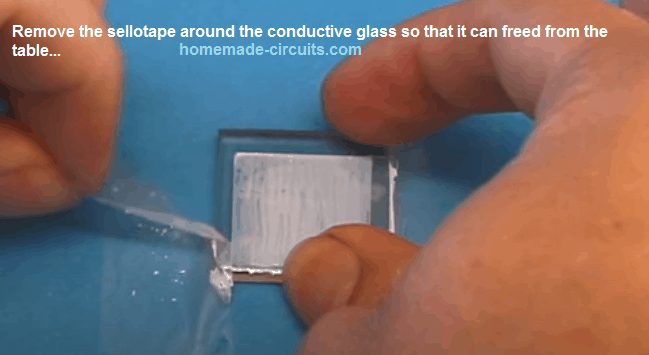
7) Next, pull out the sellotape up around the glass free it from the table.
8) We recommend baking the coating in an oven or over an open flame like a gas stove. The expected temperature is around 450°C. Once it is set, arrange the support screen just by a few centimetres above the burner flame and position the glass piece with TiO2 coating on top of it.
9) The titanium oxide layer will change its color to brown at the beginning of the baking procedure because of its organic content. But you have to ensure the color of TiO2 changes to white during the end of the process.

10) We strongly advise allowing proper cooling time for the glass otherwise there’s a chance of it shattering. A tip is to slide the glass to a cooler area (usually near the edge) and not hastily displace it from the hot screen.
11) It is time to prepare the fruit tea with boiling water. In our experiment, we used less water and more tea bags. Pour the brewed fruit tea solution into a large bowl. If you don’t have fruit tea bags, you may go with red beet juice, raspberry juice or even red ink.
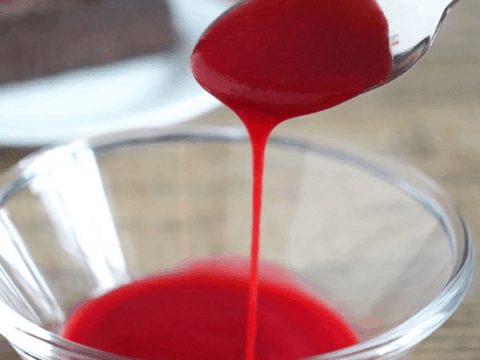
12) Once the glass piece has achieved around room temperature, you may carefully slide it in the bowl and allow it to soak for several minutes.

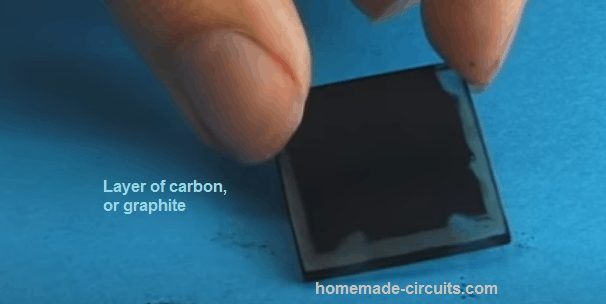
13) As the soaking process undergoes, you can start to cover the conductive side of a second glass piece with a lot of graphite which is obtainable from a lead pencil. This coating will function as a catalyst for transporting electrons to the electrolyte from the electrode.
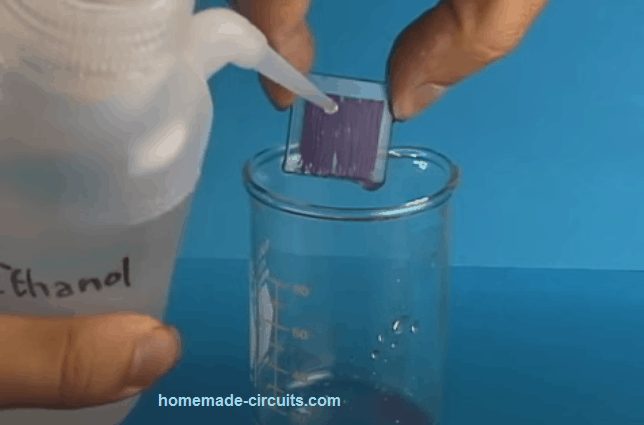
14) Then, take out the conductive glass piece from the tea bath. The titanium oxide layer will have absorbed the colour of the tea (refer to the centre of the picture). After that, rinse the glass with clean water or ethanol and use a hairdryer to get rid of every drop of water.
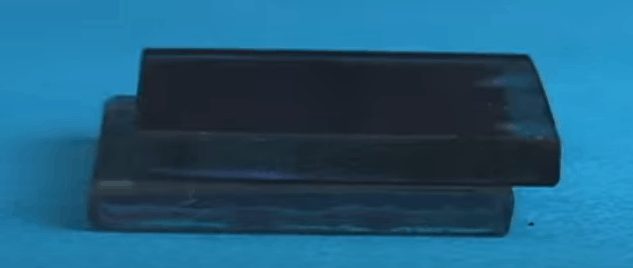
15) Next, arrange the two glass pieces together with the conductive surfaces facing one another and the ends offset. You must take great care that both the glasses don’t slide off as it may cause the TiO2 to be rubbed off.
16) After this, the glass pieces can be held together using paper clips (slightly modified or using normal Sellotape wrapped around them.
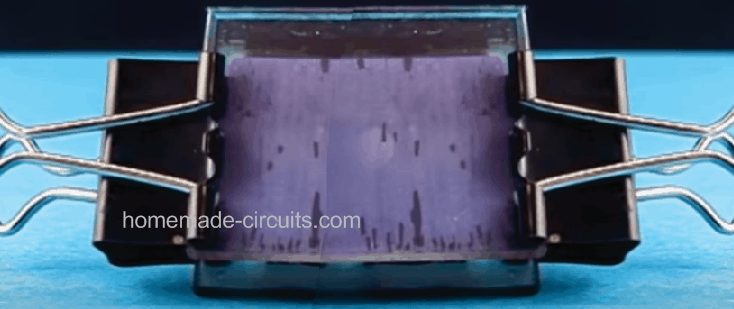
17) Now, add the electrolyte between the two glass pieces. It is recommended that you place a few drops of electrolyte on each side of the glass pieces and they will be drawn between the glasses due to capillary action.
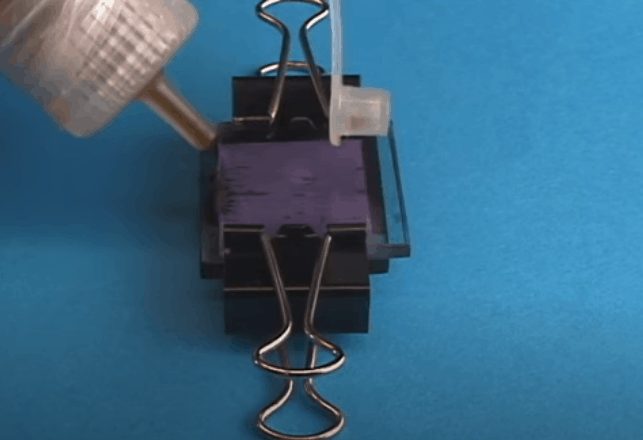
18) That's it, your fruit juice based dye-sensitized solar cell is now ready for testing. Using the multimeter you can measure the voltage (around 0.4 V) and current (about 1 mA). Because of the lighting of the studio, the results will vary a little. Furthermore, you can use several crocodile clips to extend more cells in series.
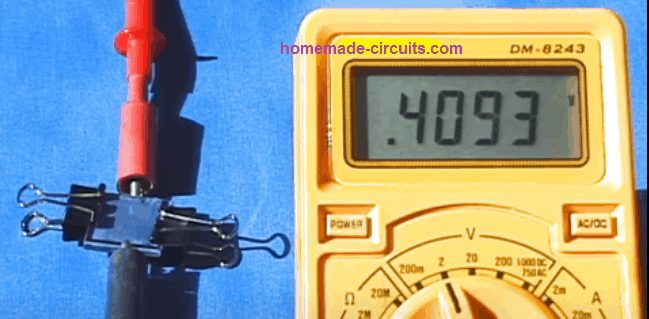
We will disregard the step of sealing the glass pieces, as done with industrialized dye-sensitized solar cells. This permits us to utilize the pieces of glass again and in that case, all you need to do is separate them and thoroughly wash their surfaces with water and gently scrub them. Because completely removing the graphite coating is not possible, so we advise utilizing the counter-electrode glass again for the exact purpose in future experiments.
Image courtesy: youtube.com/watch?v=Jw3qCLOXmi0
well explained and with
clear pictures
Thank you!