In this post I will comprehensively discuss how to build a high power 1000 watt induction heater circuit using IGBTs which are considered to be the most versatile and powerful switching devices, even superior to mosfets.

Induction Heater Working Principle
The principle on which induction heating works is very simple to understand.
A magnetic field of high frequency is produced by the coil present in the induction heater and thus in turn eddy currents are induced over the metal (magnetic) object which is present in the middle of the coil and heats it.
In order to compensate the inductive nature of the coil, a resonance capacity is placed in parallel to the coil.
The resonant frequency is the frequency at which the resonance circuit (also known as coil-capacitor) needs to be driven.
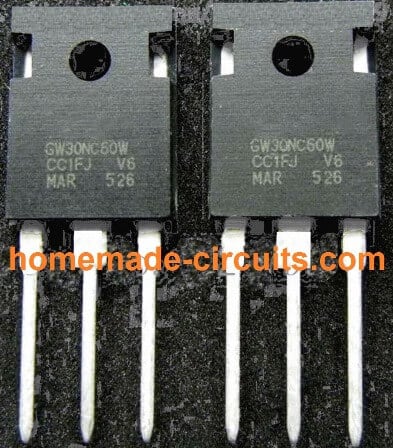
The current flowing through the coil is always much larger than the excitation current. The IR2153 circuit is used to enable the working of the circuit as a “double half-bridge” along with the four controlled IGBT STGW30NC60W.
An equal amount of power is delivered by the double half-bridge as to the full bridge, but the gate driver in the case of the former is simpler.
IGBT STGW30NC60W
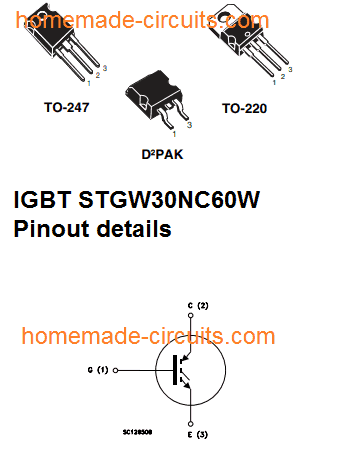
Using Anti-Parallel Diodes
The large sized double diodes STTH200L06TV1 (2x 120A) are used in the form of anti-parallel diodes. Even if the smaller diodes of 30A size will be enough for this.
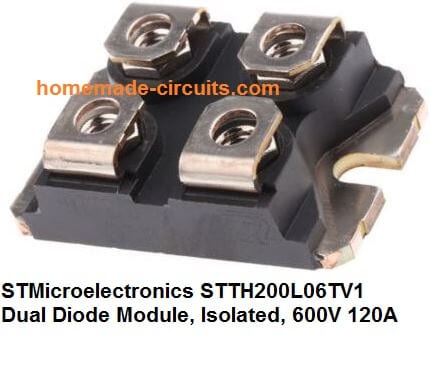
In case you use the built-in diodes of IGBT such as STGW30NC60WD, then you will not be required to use the smaller diodes or large double diodes. A potentiometer is used in order to tune the operating frequency into resonance.
One of the best indicators of the resonance is the LED’s highest brightness. You can certainly build drivers which are more sophisticated depending on your requirement.
You can also use automatic tuning which is one of the best things to do, which is the course adopted in the professional heaters; but there is one drawback that the simplicity of the circuit will be lost in this process.
You can control the frequency which falls in the range of approximately 110 to 210 kHz. An adapter of little size which can be either transformer type or smps is used to provide 14-15V of auxiliary voltage which is required in the control circuit.
The Isolating Transformer
An isolating transformer and a matching Choke L1 are the electrical equipment which are used to connect the output to the working circuit.
Both these inductors are present in the air-core design.
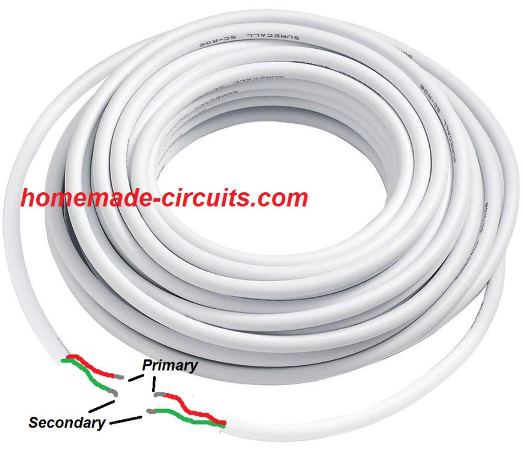
On one hand where a choke consists of 4 turns on a 23cm diameter, the isolating transformer on the other hand consists of 12 turns on a 14 cm diameter and these turns are made up of double wired cable (as shown in the figure given below).
Even when the output power reaches to a scale of 1600W, you will find that there is still a lot of scope for improvement.
The work coil of the proposed IGBT induction heater is made up of a wire which is 3.3 mm in diameter.
Using Copper for the Coil
A copper wire is considered more suitable to make the work coil as it can be connected easily and effectively to the water cooling.
The coil consists of six turns along with the dimensions of 23 mm height and 24 mm diameter. The coil can get hot in case it is subjected to prolonged operation.
Resonance capacitor is made up of and consists 23 pieces of capacitors of small size which has a total capacity of 2u3. You can also use capacitors of 100nF in the designs such as Class X2 and 275V MKP polypropylene.
You can use them for this purpose even when they are basically not intended or made for such purposes.
The frequency of resonant is 160 kHz. EMI filter is always recommended to be used. A soft start can be used in order to replace the variac.
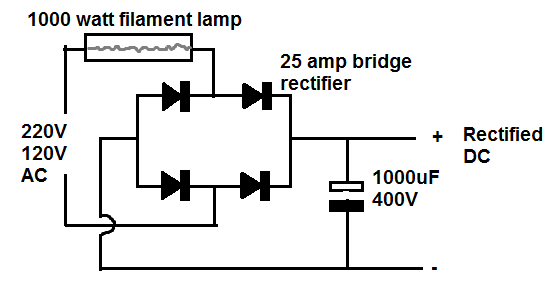
I would always strongly recommend you to use limiter which is connected in series with the mains such as halogen lamps and heaters of approximately 1 kW when it is being turned on for the first time.
Warning: the induction heating circuit being used is connected to the mains and contains voltage of high level and can be lethal.
In order to avoid any accident due to this you should use a potentiometer which has a plastic shaft. The electromagnetic fields of high frequency are always harmful and can have a damaging effect on the storage media and the electronic devices.
A significant level of electromagnetic interference is caused by the circuit and this in turn can also cause electric shock, fire, or burns.
Every task or process which you carry out is at your own risk and the responsibility will lie with you and I will not be responsible for any kind of harm which comes by in carrying out of this process.
Circuit Diagram

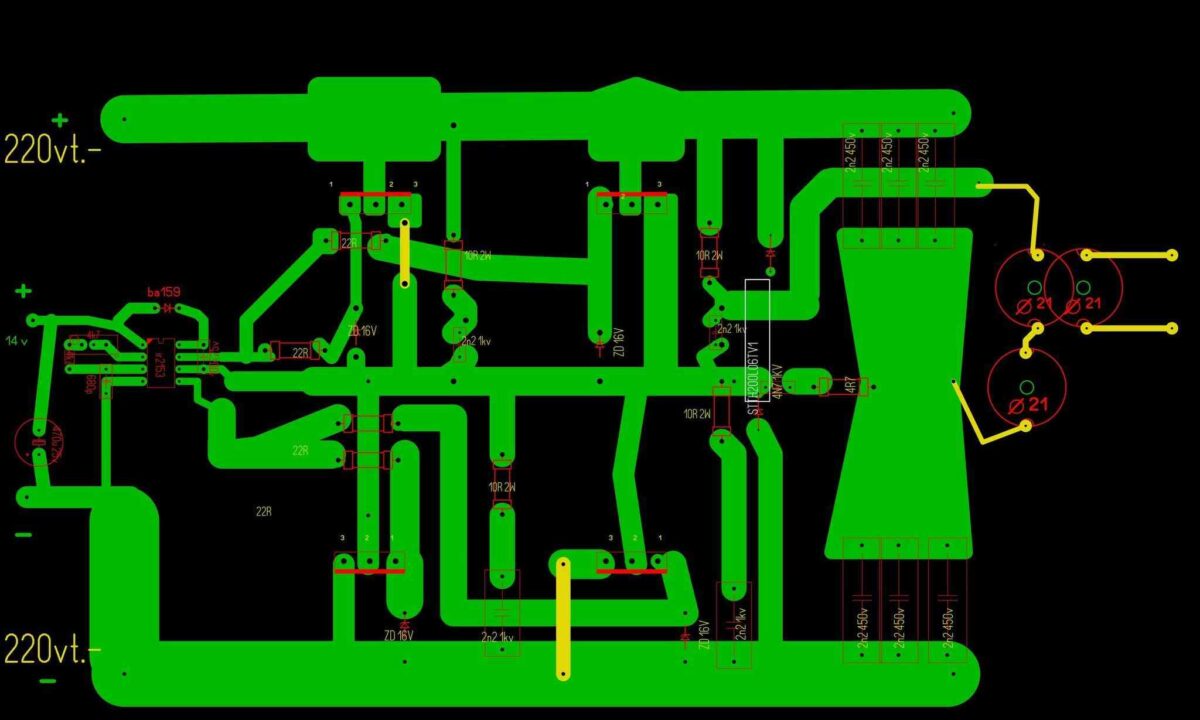
PCB Design
The following PCB design for the above IGBT induction heater circuit was provided by an avid reader of this blog Mr. Атанас.
220V AC to 220V DC Bridge Rectifier Circuit with Safety Lamp
The Choke L1
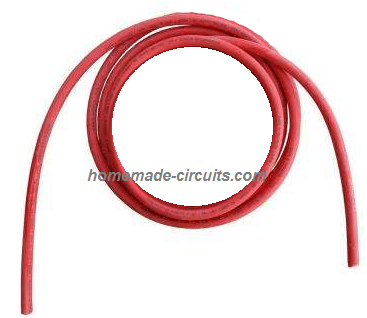
The design of the choke L1 used in the above full bridge IGBT induction heater circuit can be witnessed in the below given image:
You can make this by coiling 4 turns with 23cm diameter, using any thick single cored cable.
The following image shows the double coiled air cored isolation transformer design:
You can build this by coiling 12 turns with a 14 cm diameter, using any thick doubled wired cable.
The work coil may be build as per the following instruction
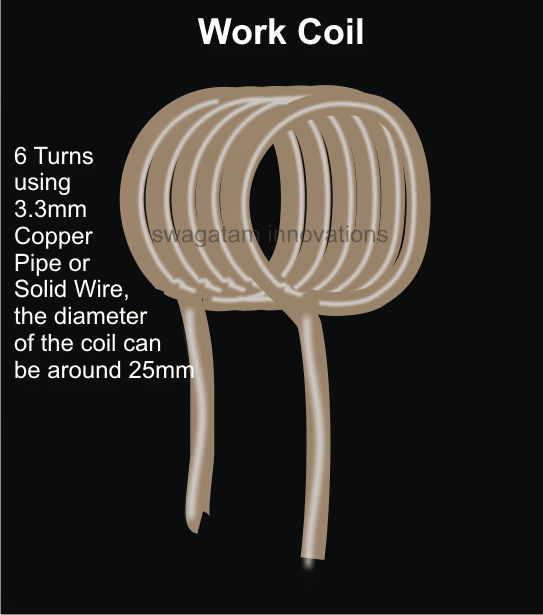
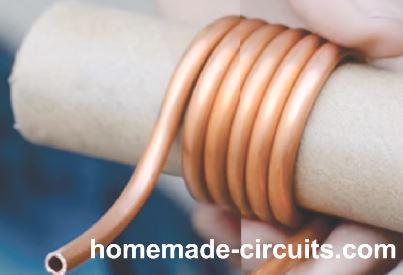
Please note that if the coil is tightly wound then only 5 turns may be required. If six turns are used then you may try stretching the coil slightly for achieving optimal resonance and efficiency.
UPDATE
Adding a Current Limit
The following diagram suggest how a simple current limiting feature can be added to the above explained induction heater design.

TIL111 opto-coupler Pinout Details
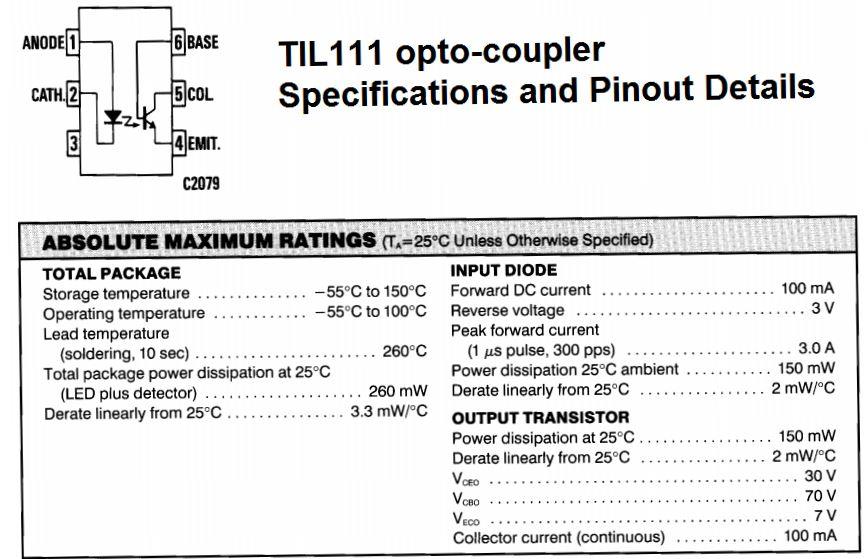
Here the resistor near L1 (let's call it Rx) becomes the current sensing resistor, which develops a small voltage across itself to the desired point when the current begins exceeding the safe limits.
This voltage across Rx is used for triggering the LED inside the attached opto-coupler. The output transistor inside the opto responds to the LED triggering and quickly conducts grounding the Ct, pin#3 of the main driver IC IR2153.
The IC shuts down immediately prohibiting any further rise in current. When this happens the current drops which in turn eliminates the voltage across Rx, thereby switching OFF the opto LED. This reverts the situation towards earlier normal situation, and the IC starts oscillating again. This cycle now repeats rapidly ensuring a constant current consumption for the load, within the predetermined safe limits.
Rx = 2/Current Limit
Feedback from one of the dedicated readers:
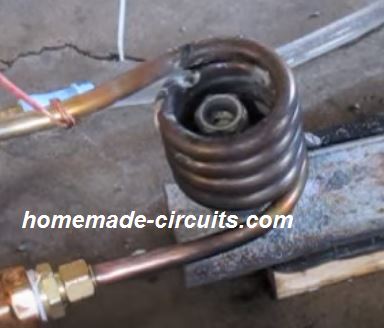
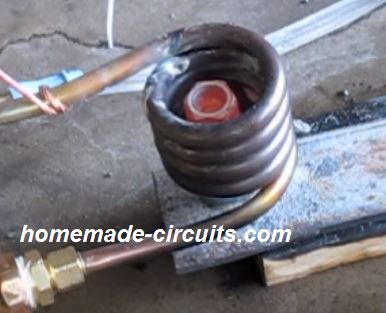
Dear Sir- I have successfully made induction heater 1/2 bridge with 4 IGBTs and i want to know that the 1000 watts heater lamp that's been suggested should be permanently connected to the circuit or only upto testing for the 1st time.
Images of the test result are enclosed here under:
Awaiting your reply at the earliest. Regards - Manish.
Solving the Circuit Query
Dear Manish,
While operating the induction heater do you see any glow on the series lamp?
If yes then probably it cannot be removed, if the lamp is in the non-illuminated state and completely "cold" (feel it by holding it) then it can be removed.
Regards
Feedback from Mr. Saeed Mahdavi
Dear Swagatam:
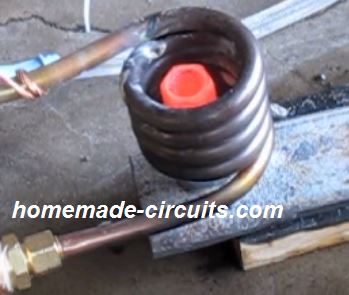
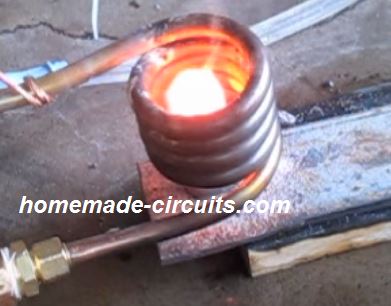
At last I was able to make my circuit work again after a lot of more attempts. And i shot the video with the bolt red hot.
I hope it could be useful for those interested in induction heaters. Would you please tell me how to increase the heat so that the bolt reaches melting point?
The voltage across the mains is 194 volts and the current consumed by the circuit is just 5 amperes and the wave form on the oscilloscope is quite sine waveform.
In my prototype I added a few turns to the RFC choke to get more voltage on the work coil and consume less amp.
The IGBTs worked quite normally without much heating during the operating period. Would you please tell me what I should do to get more and heat. Thanks a lot
Saeed Mahdavi
Video Clip:

Have Questions? Please Comment below to Solve your Queries! Comments must be Related to the above Topic!!